To enable server interaction for most applications, including mobile apps, you’ll need a good Web Service interface, and REST Services works brilliantly for that. In Linx you can easily create highly customised REST Web Services.
In this example (Attached) , I’ve created a quick Hello World demonstration of using the RESTWebService Service of Linx 5.
RESTHello.lsoz (9.6 KB)
The first step is to define the Web Service using a tool called Swagger Editor. It’s an extensive language that is easy to learn, but I’ve Attached the definition below (remove the .txt extension). You can use it as a starting template, just import it into Swagger Editor.
hello.json.txt (3.9 KB)
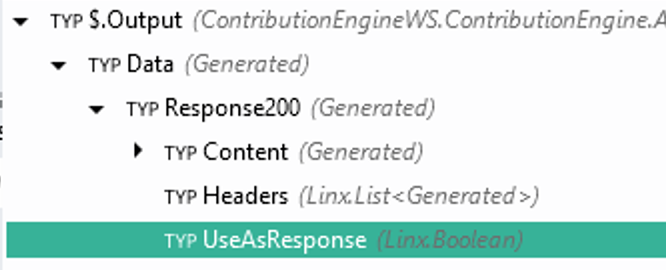
Once you export the Service definition from Swagger as a JSON file, you can create your Linx Solution, add the RESTWebService Service and copy and paste the JSON Definition into the “API description” field. This will then give you all the operations as defined in the JSON file:
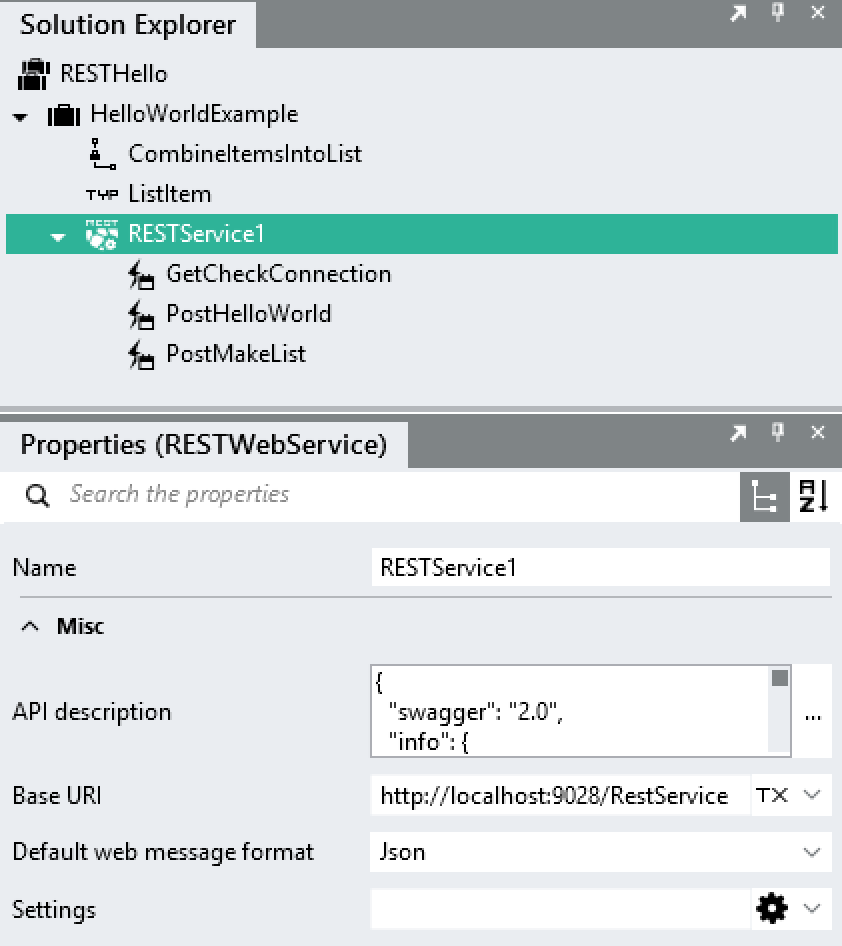
Just remember, when you deploy your solution to your Linx server for the first time, the Service will be stopped. You need to click on Start: